In this article we will learn working with bot framework, create a simple echo bot, setup QnA service using MS QnaMaker (https://www.qnamaker.ai) and integrate QnA maker with bot application created locally. Finally, we will test our bot using bot emulator.
In this article, you will learn how to create simple echo bot, configuring Microsoft QnA maker and integrate it with our bot application.
Before starting, take care of below prerequisite.
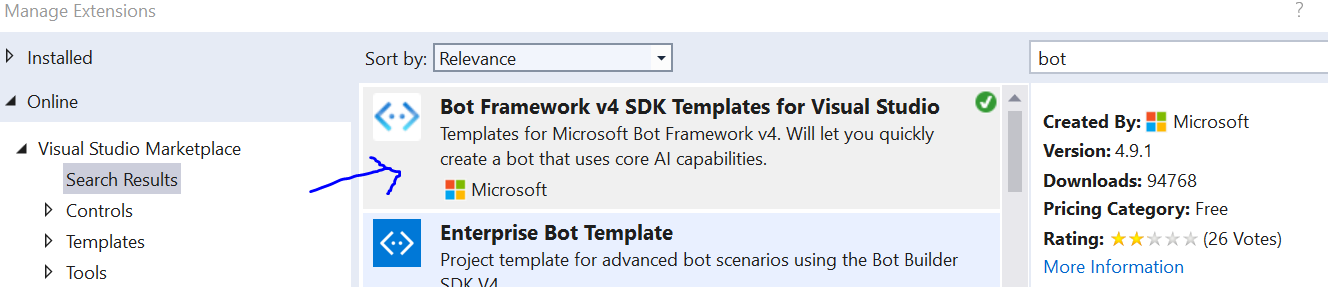
Go to Visual Studio > Open Extensions > Manage Extensions
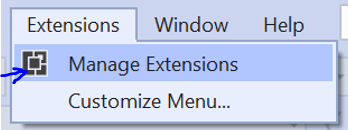
A popup opens. Search bot and install
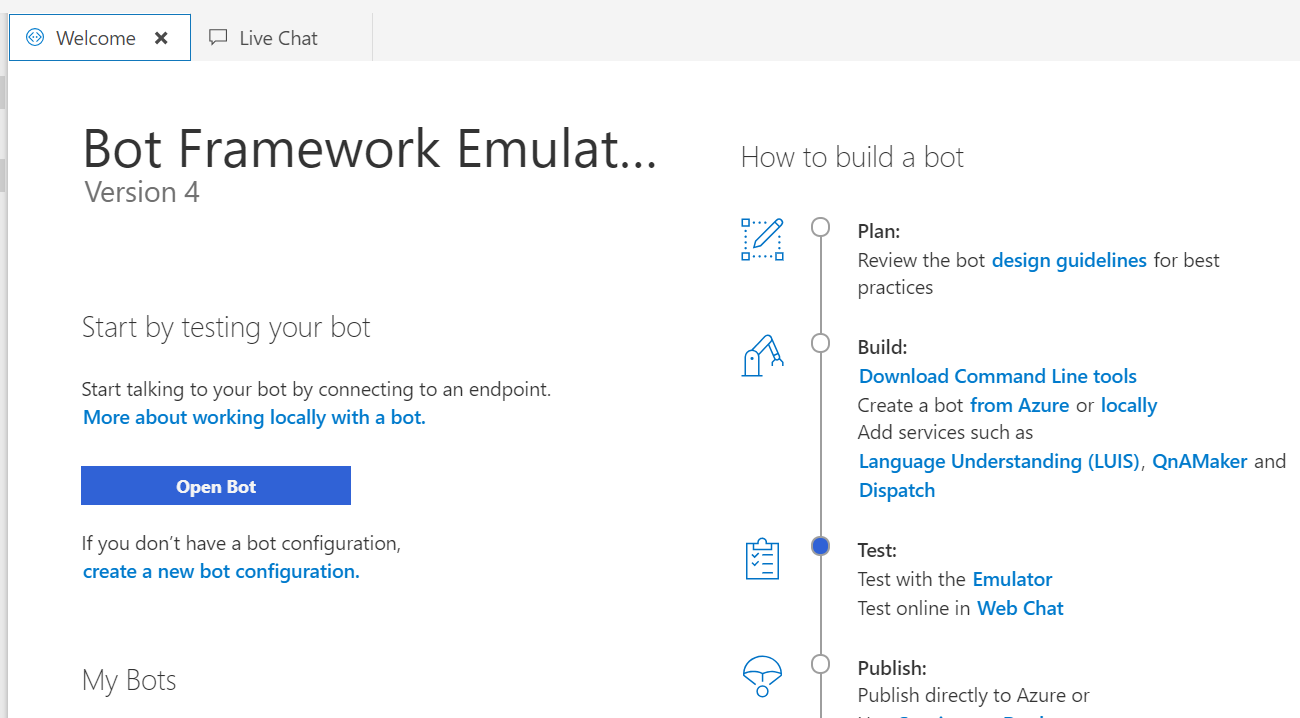
Download Emulator from below link and install.
https://github.com/Microsoft/BotFramework-Emulator/releases
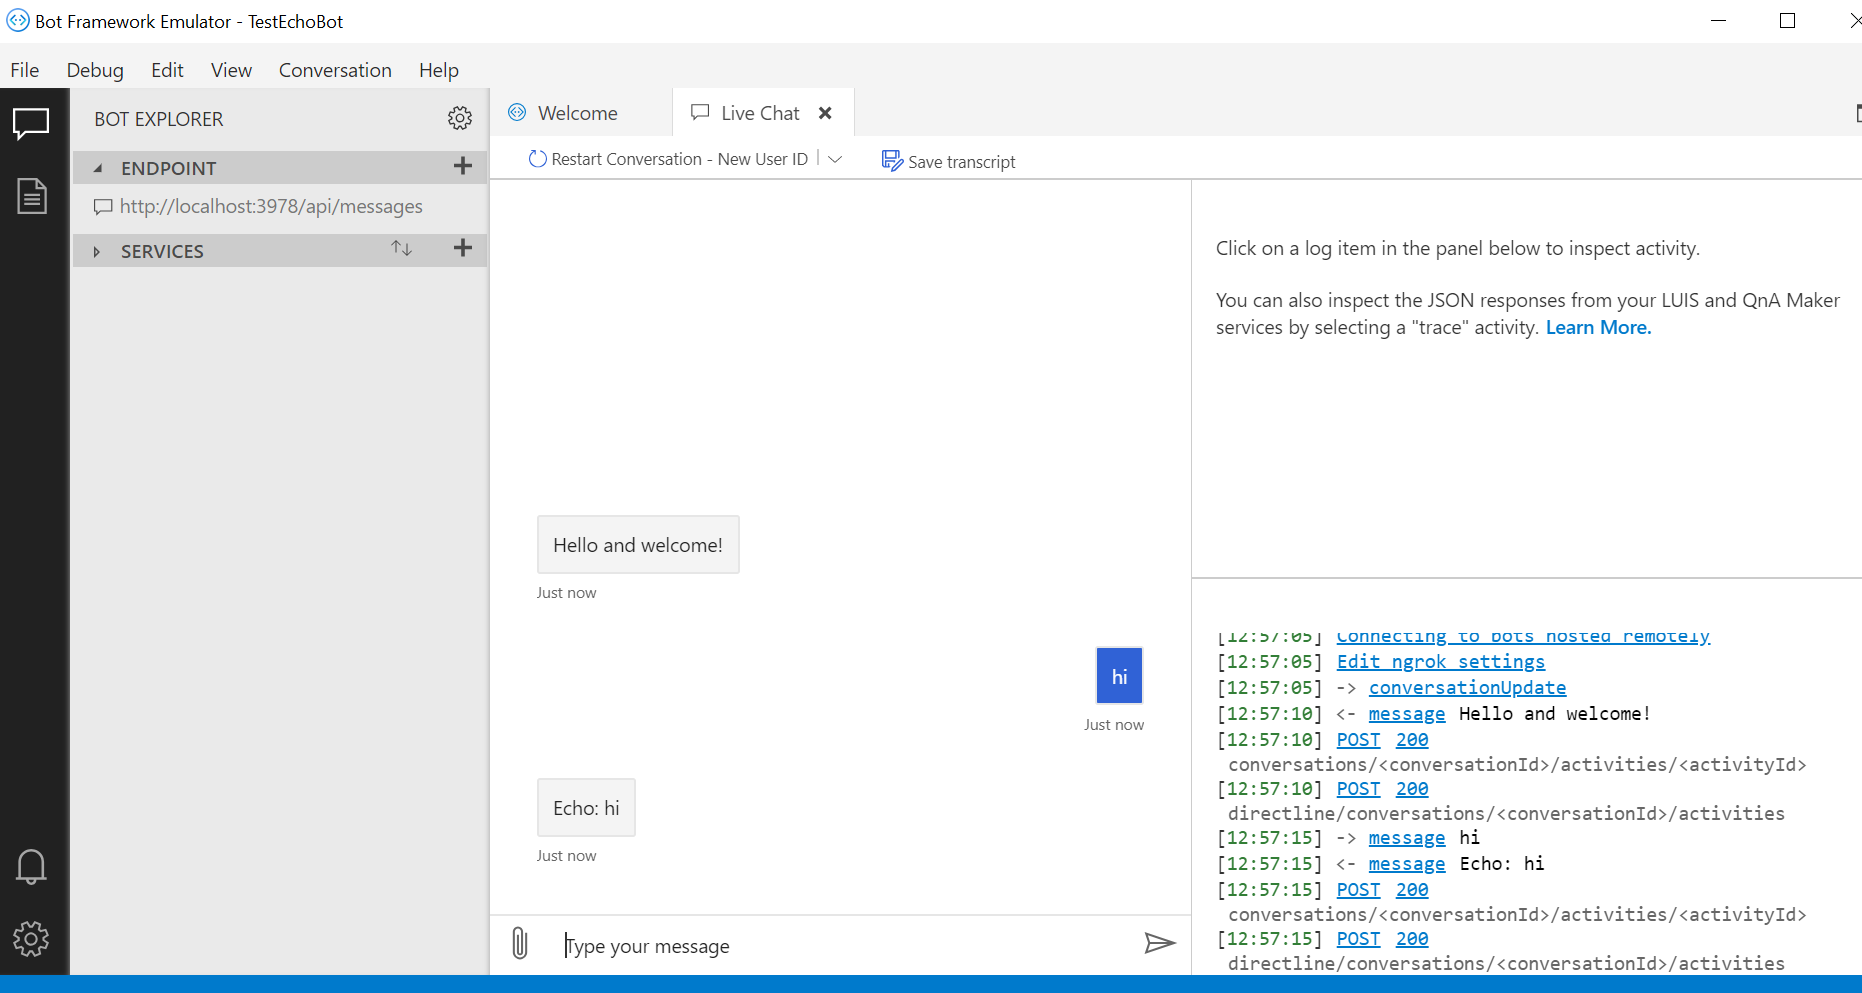
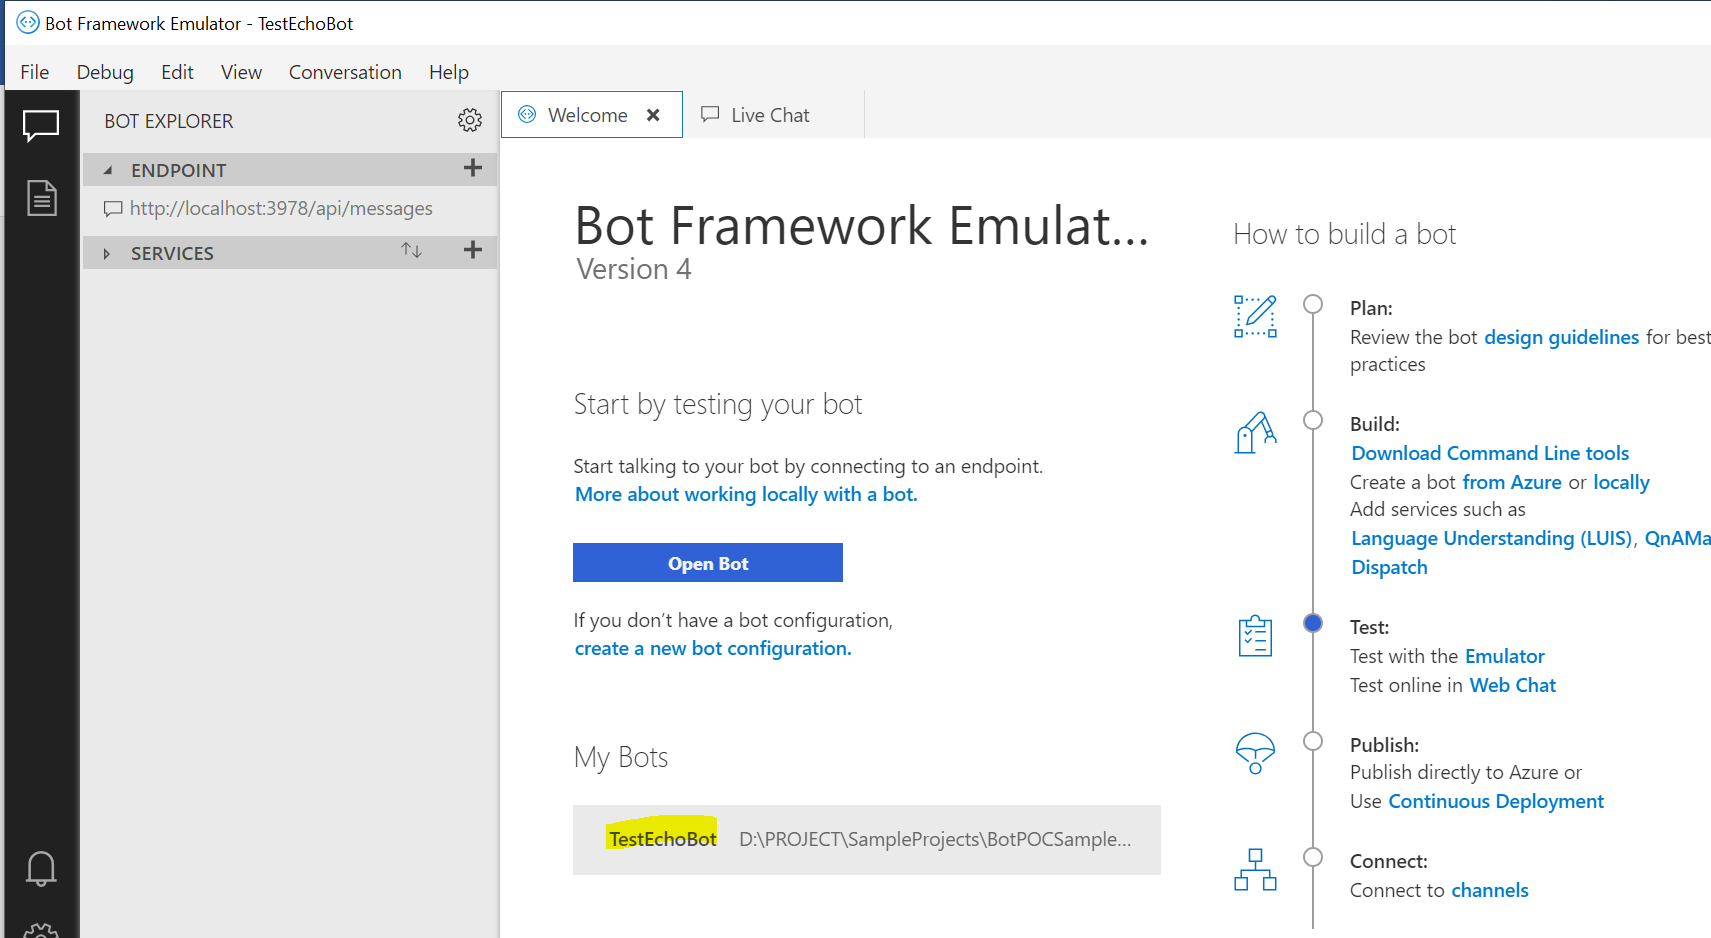
Once the bot emulator is installed, it looks like this.
Echo bot is a simple bot that can communicate with user. To create an Echo bot follow below steps.
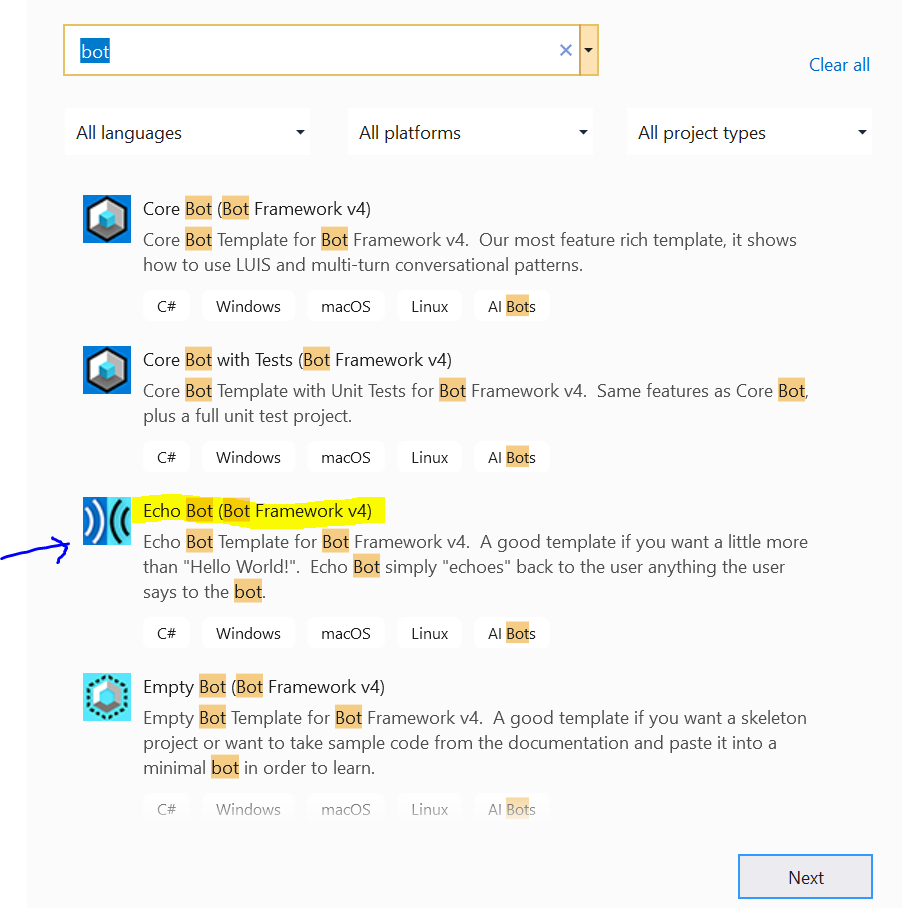
Open Visual Studio and create a project.
In search box type bot. You will see several project templates. Select Echo bot template. You can select empty project template as well but in that case, you have to configure everything from scratch. I have selected Echo Bot template and named the project as TestEchoBot.
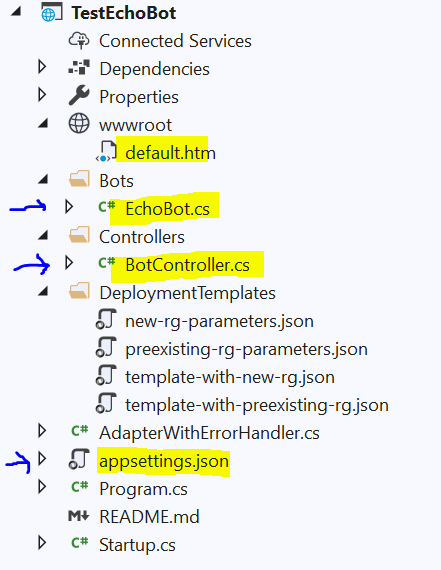
Once project is added, you could see below files.
default.htm page which is landing page for this project
EchoBot.cs which is inherited from ActivityHandler class that inherits from IBot interface. This class override two methods 1) “OnMessageActivityAsync” which has logic related to bot conversation with end users, 2) “OnMembersAddedAsync” which is used to welcome a new member to chat.
BotController.cs – Is a controller for running bot
Appsettings.json – It contains bot related settings. You can run bot locally but if you want to make your bot public, you have register it and provide Microsoft app id and password.
{
"MicrosoftAppId": "",
"MicrosoftAppPassword": ""
}
Now, as our simple bot is ready, it is time to test it using emulator locally. For that start bot emulator and add configuration. Run your bot project and copy URL. Now open File menu > New Bot Configuration… option. Add bot details like name and Endpoint URL (project URL). Microsoft app id and password are optional which can be added later and are not required if running bot locally. Click on “Save and Connect” button to start bot.

Bot is connected and ready to serve. As this is dummy app, bot will return what user is entering. You have to change the logic and add more functionality if you want bot to return proper response.
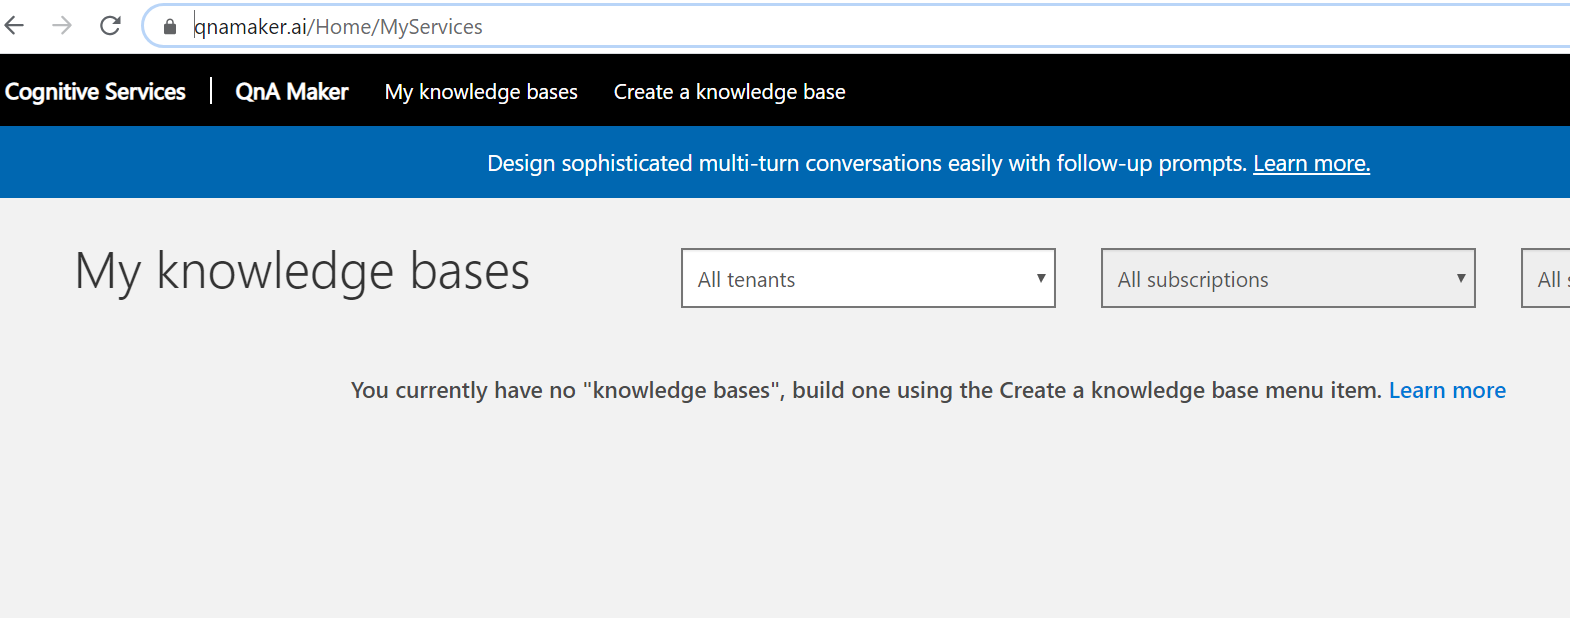
QnA maker is a tool that enable bot to answer questions asked by user depending on the Knowledge base added into QnA maker. It is facilitate with AI and model is trained on Azure. To implement QnA maker, you have to first register on https://www.qnamaker.ai/. Once you are registered on QnA maker portal, first thing is to add knowledge base. You dashboard should look like this.
Next step is to create knowledge base. Screen look like below.
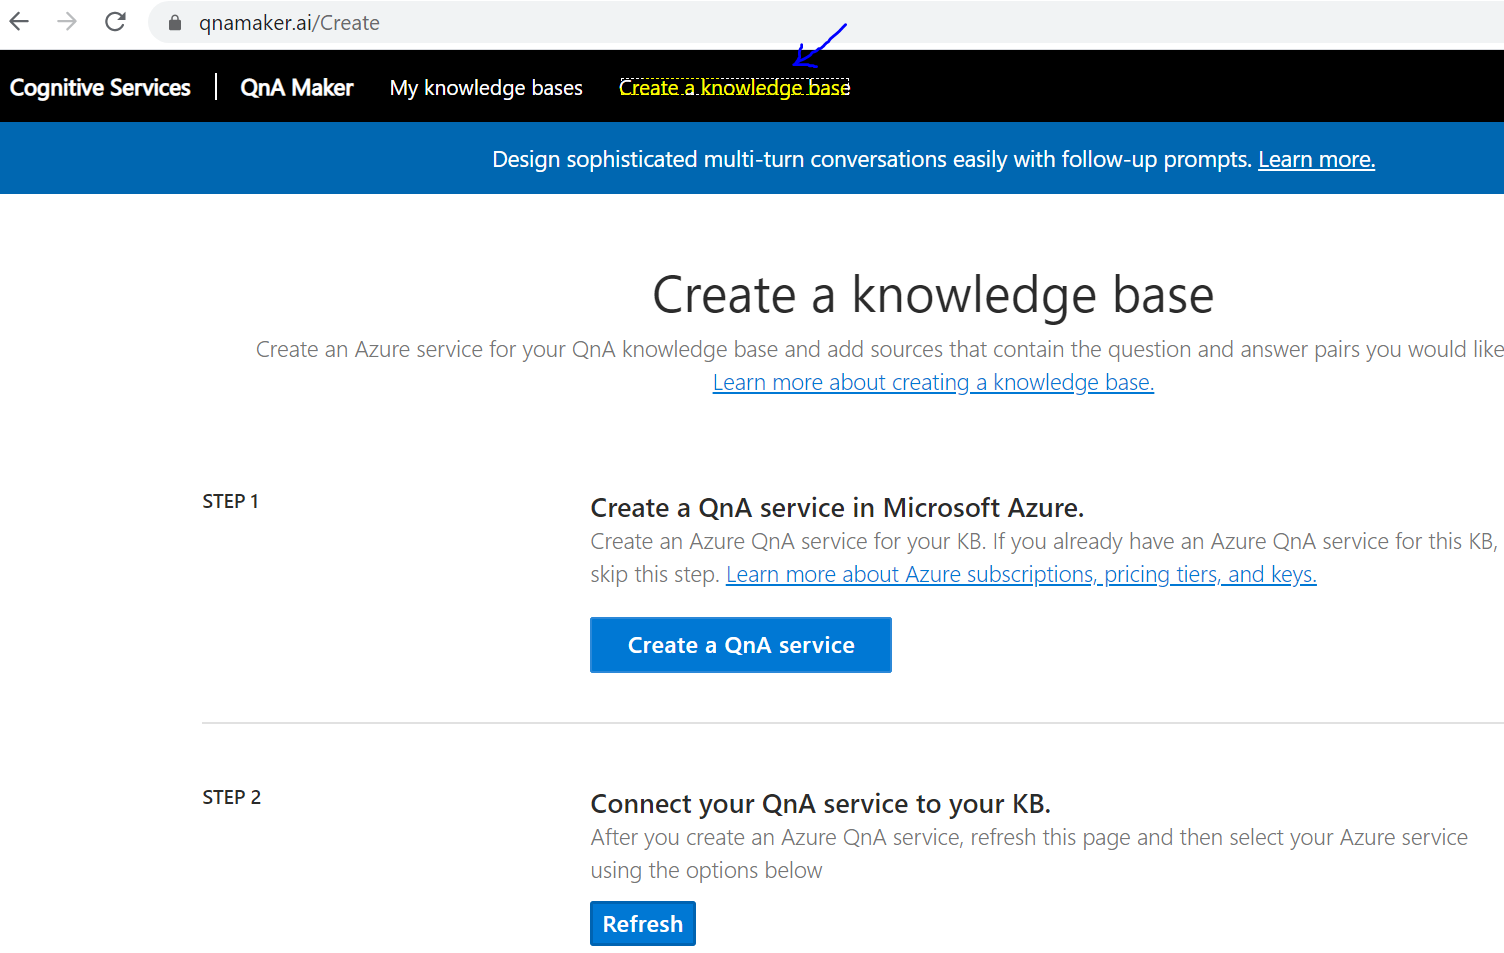
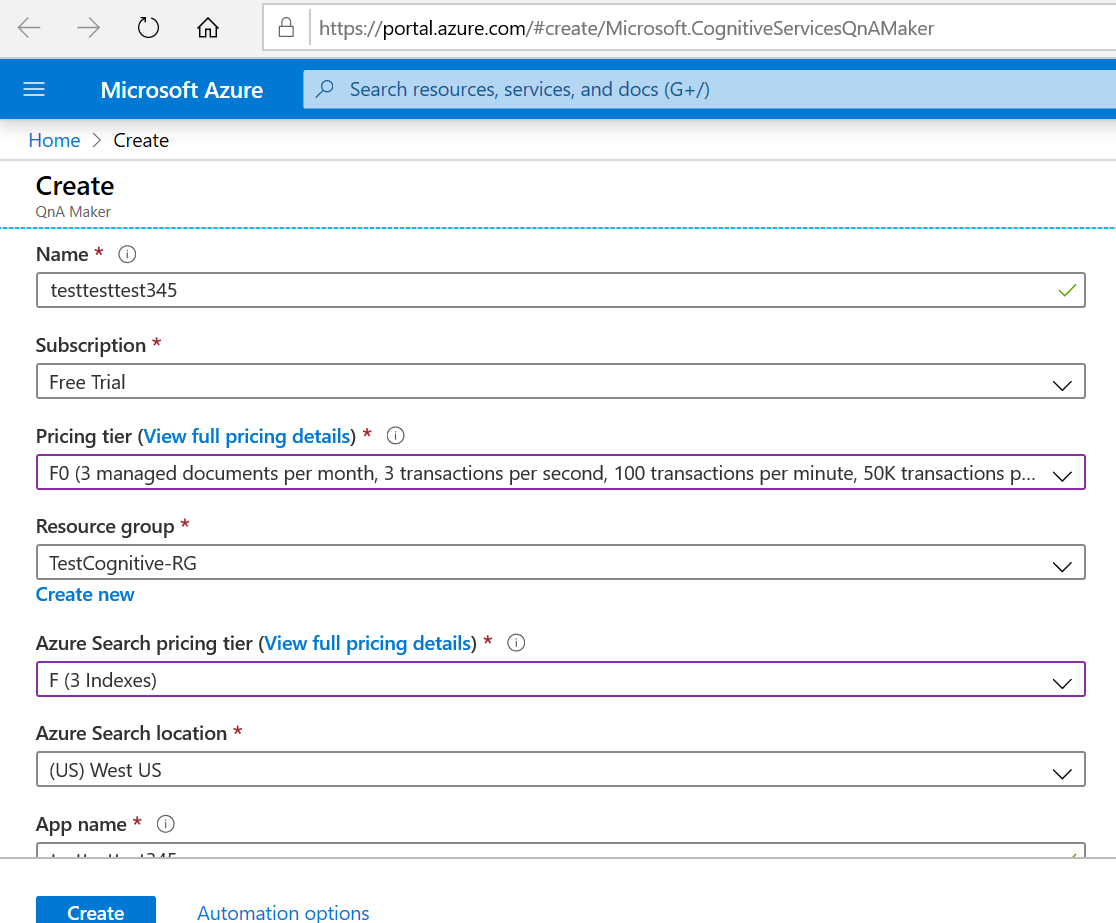
First step is to create a QnA resource in Azure.

For that, you have to fill below details, additionally you have to create a resource in Azure portal and must have a subscription (free or paid).
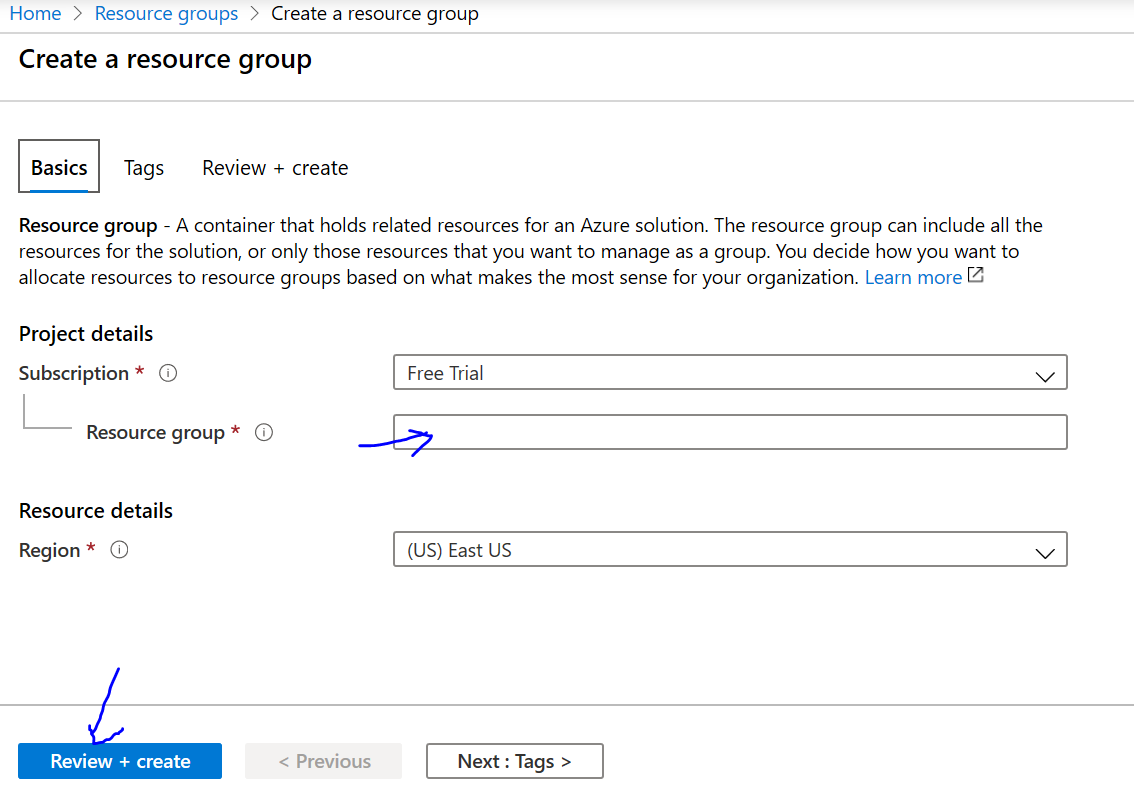
To start with, first create a resource group.
Go to Azure portal > Click on Resource Group
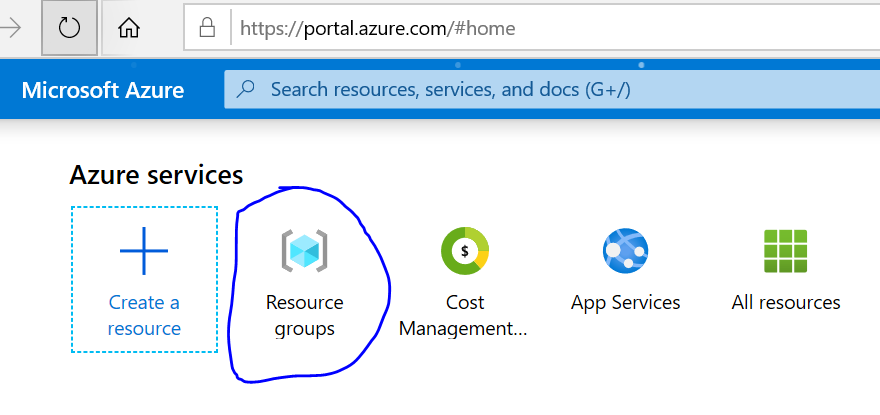
Below page opens up. Just add required fields and click on “Review + Create”. This will validate the request. After validation is completed, press “Create” button to create resource.
This will take some time to deploy. You can see your resource on resource dashboard page.

Now configure QnAMaker at this URL.
https://portal.azure.com/#create/Microsoft.CognitiveServicesQnAMaker
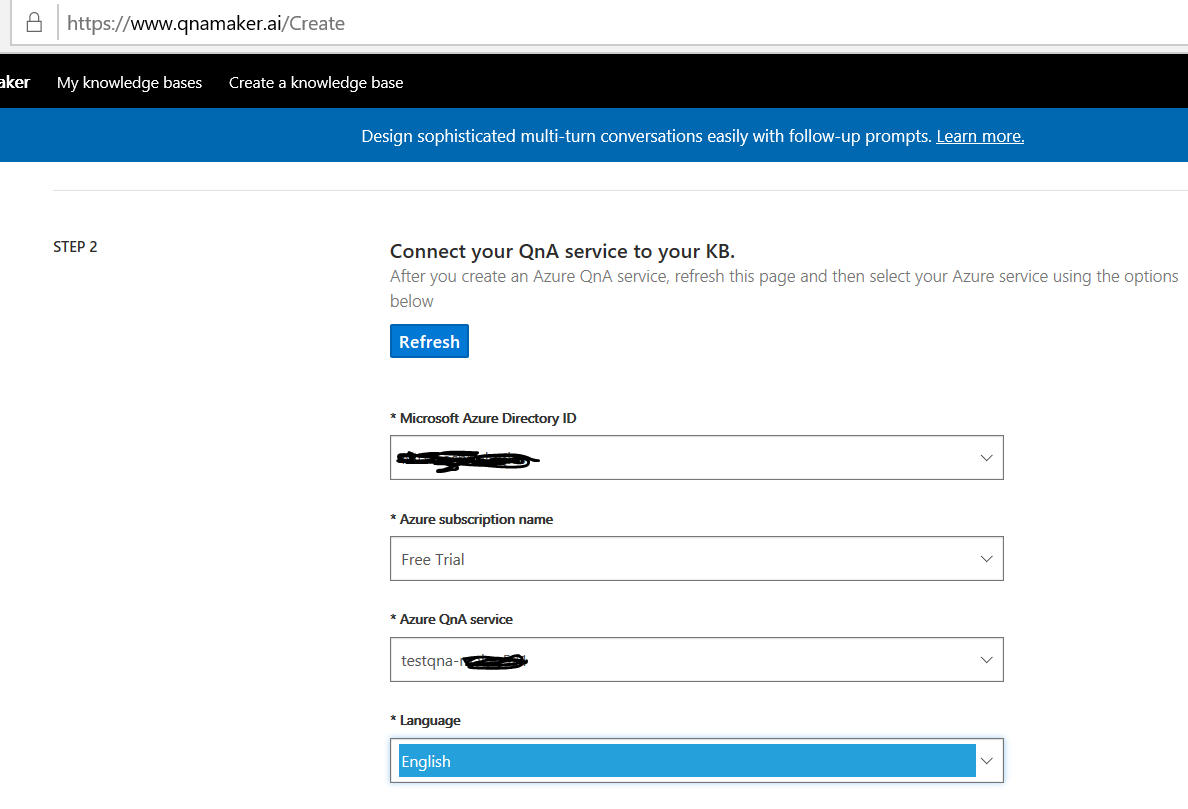
After QnA is created, go to previous page and press “Refresh” button.

You can verify the same in azure portal as well that whether QnA resources has been created or not.

Now in step 2, select QnA service details created in step 1.
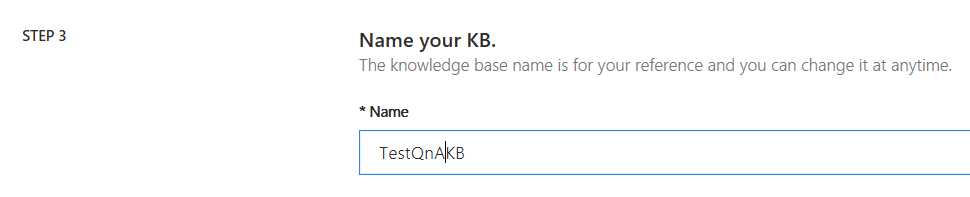
In step 3, enter name of Knowledge Base.
In Step 4, you will find option to upload KB document, which can in the form of file or URL. I am uploading excel file with dummy data.
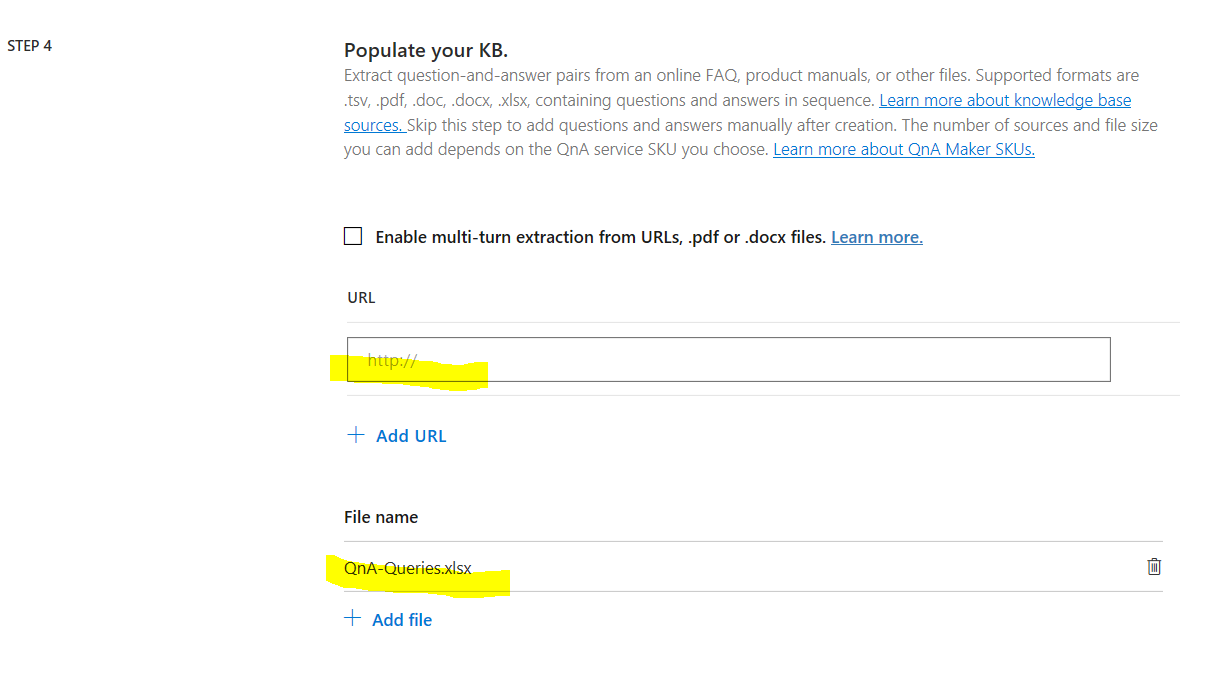
You can also select Chit-Chat option having predefined trained data which can be used for greetings and general chat.
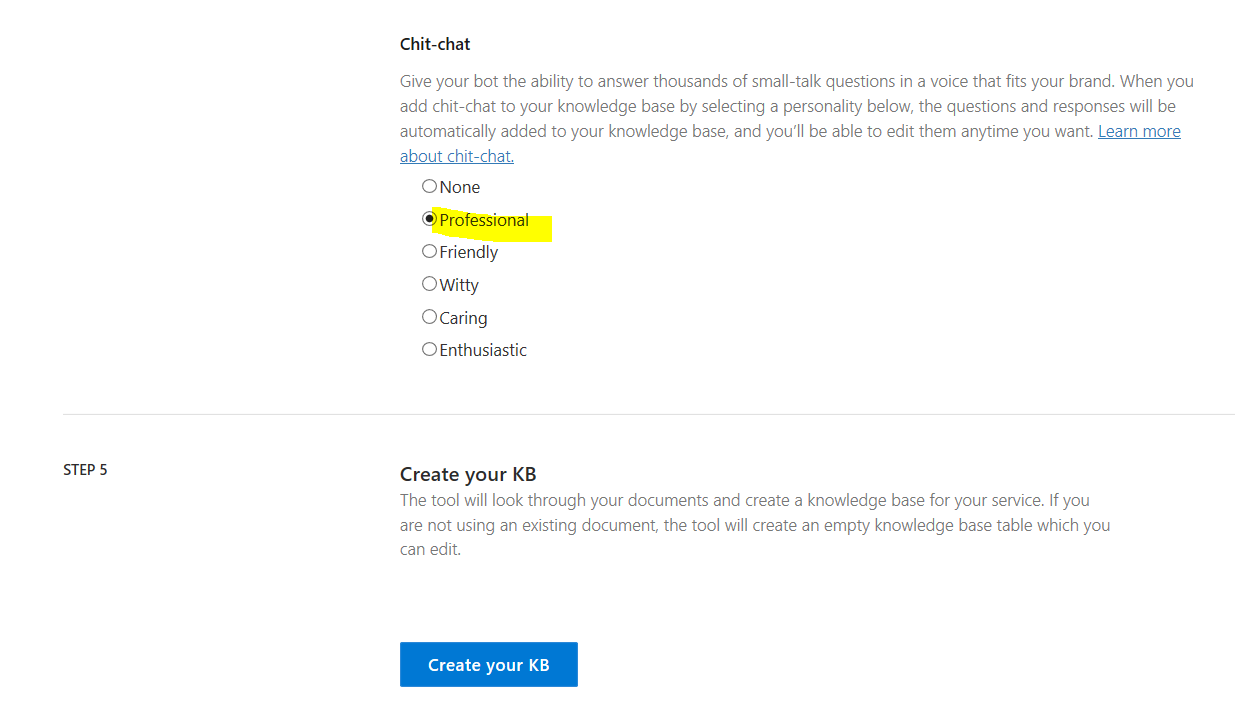
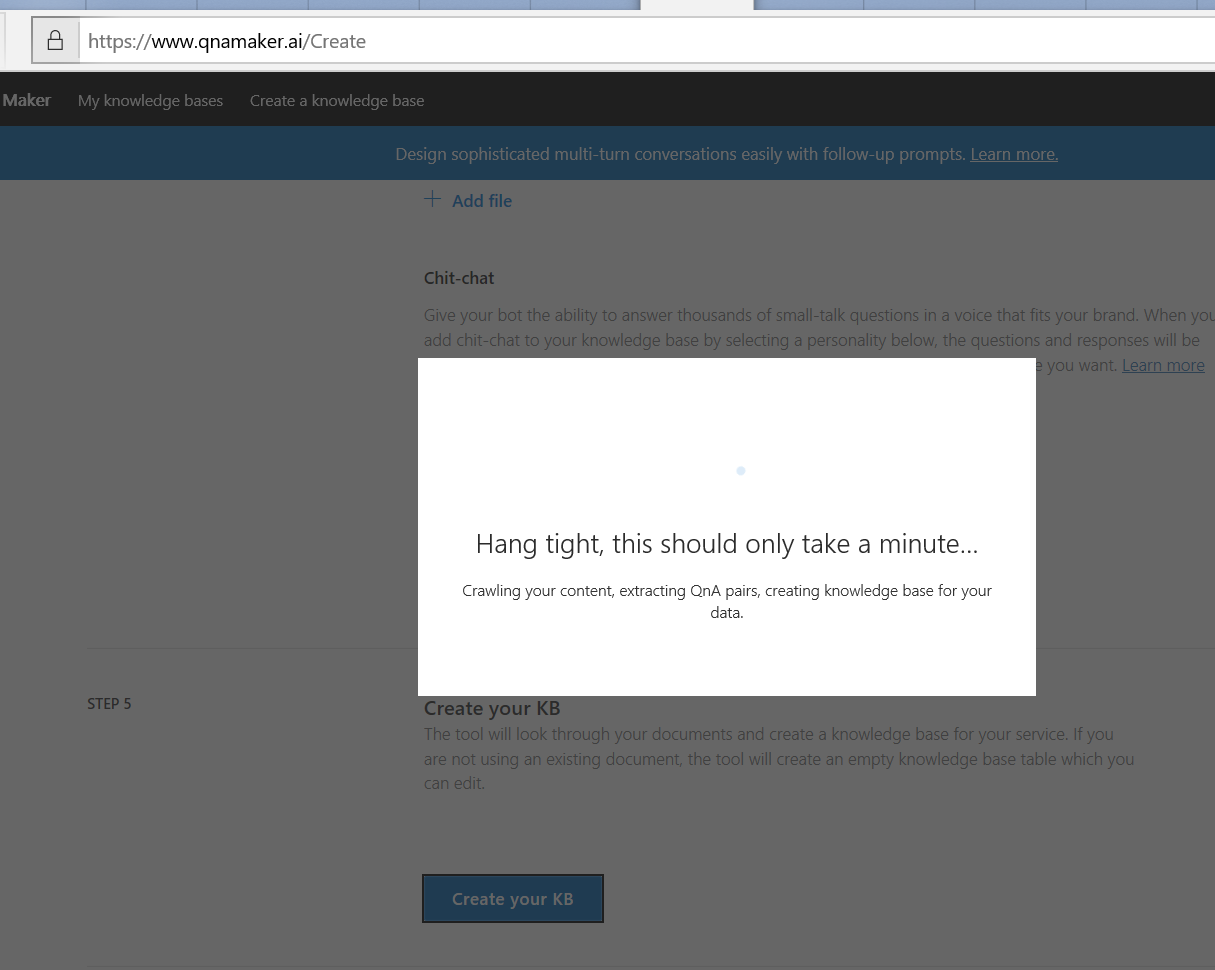
Now click on “Create your KB” button to Add KB. It may take some time to train the model based on your data.
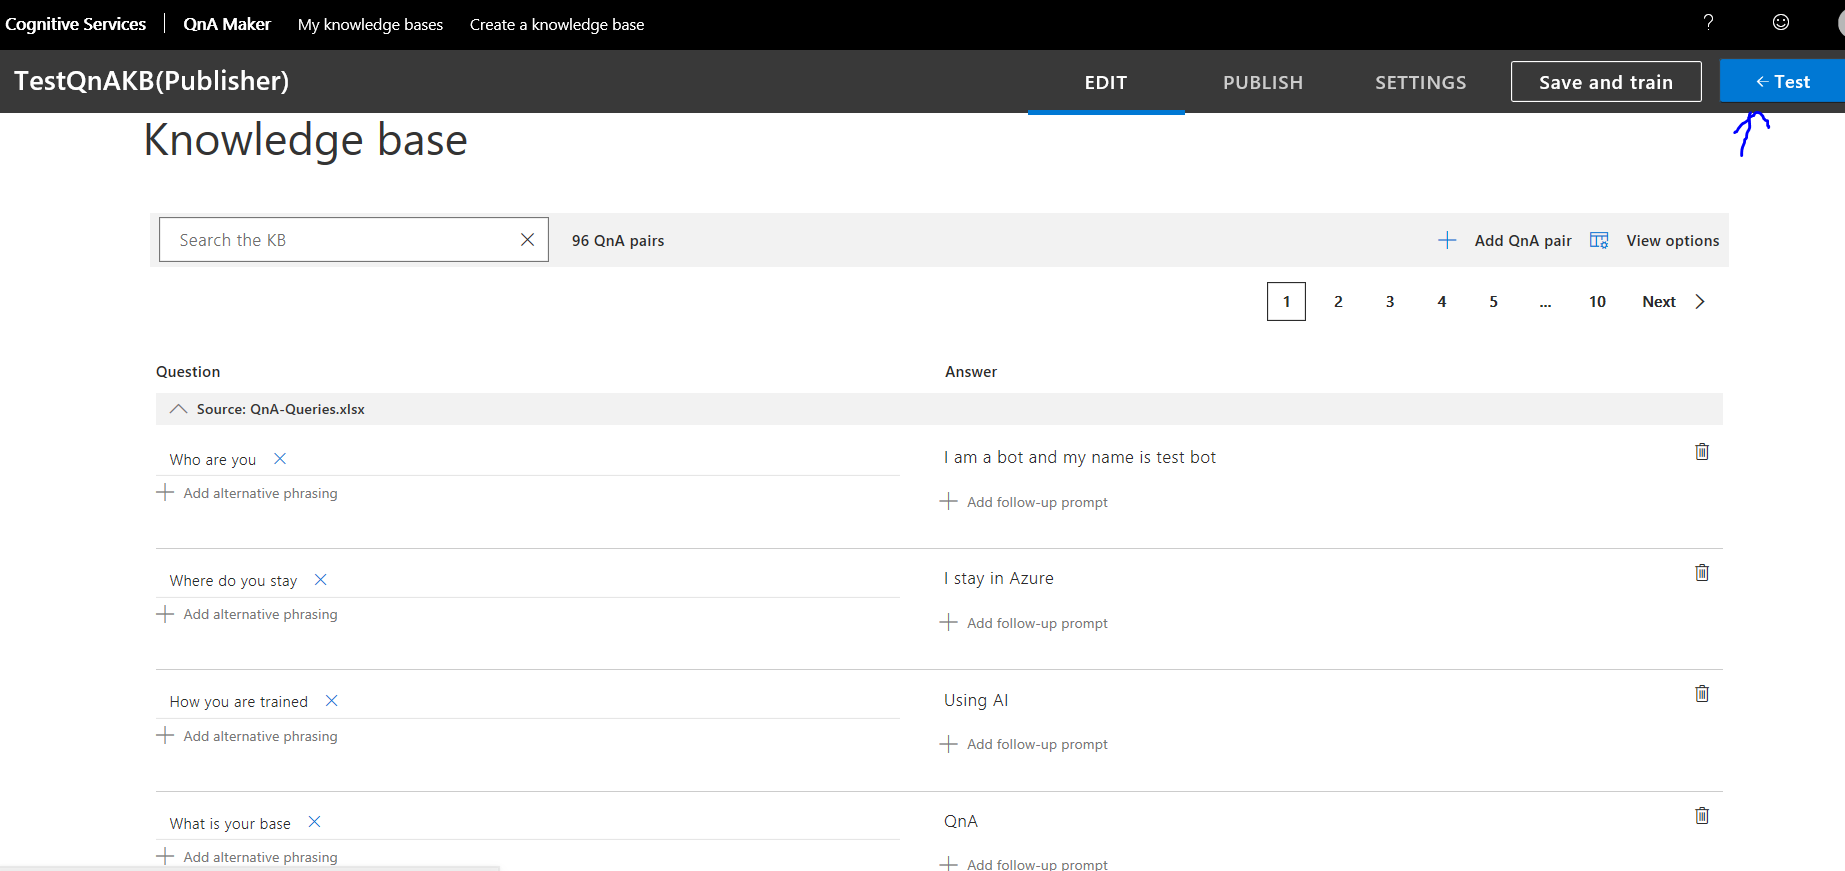
Your data look like below. Here you will find options to add phrasing data as well which act like keywords. If you are satisfied, you can test data using “Test” button.
So here you can see that bot is working perfectly. It has chit-chat message and it can answer to several questions as well which were added as data.
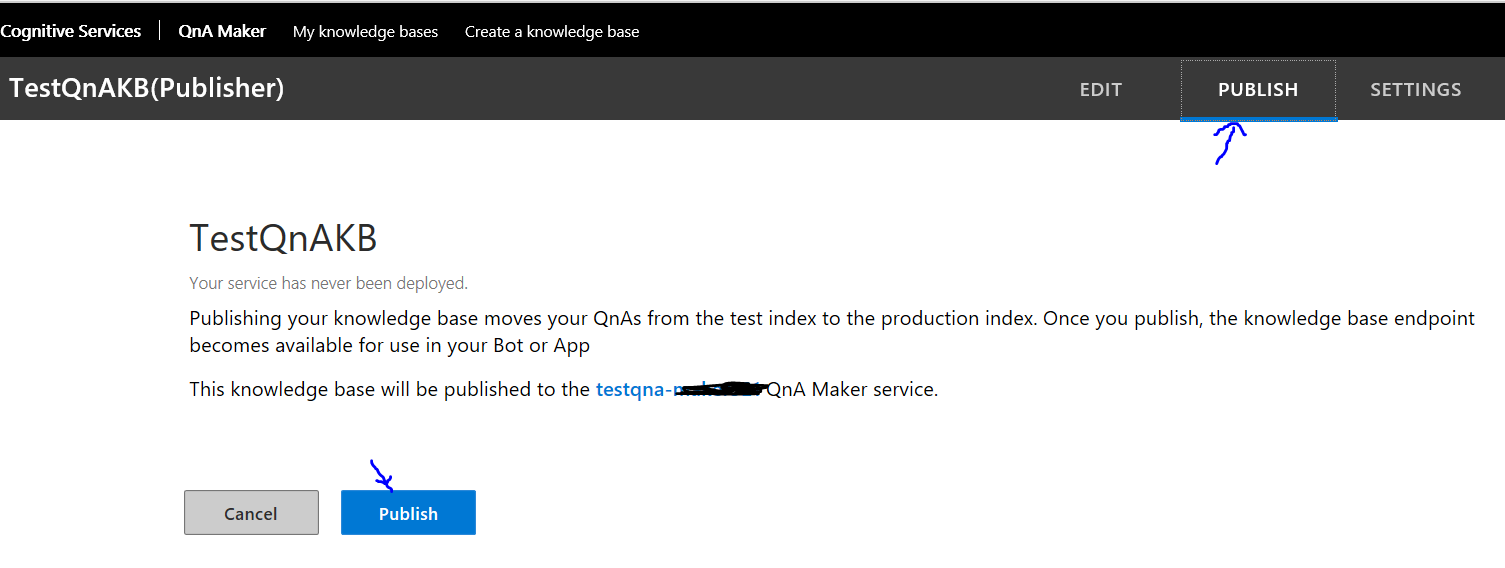
Publish QnA maker KnowledgeBase
After you tested your QnA maker KB, It’s time to publish it so as to make it public for further integrate into app or other medium. For that click on “Publish” link and then click “Publish” button. It will take some time to publish you QnA service.
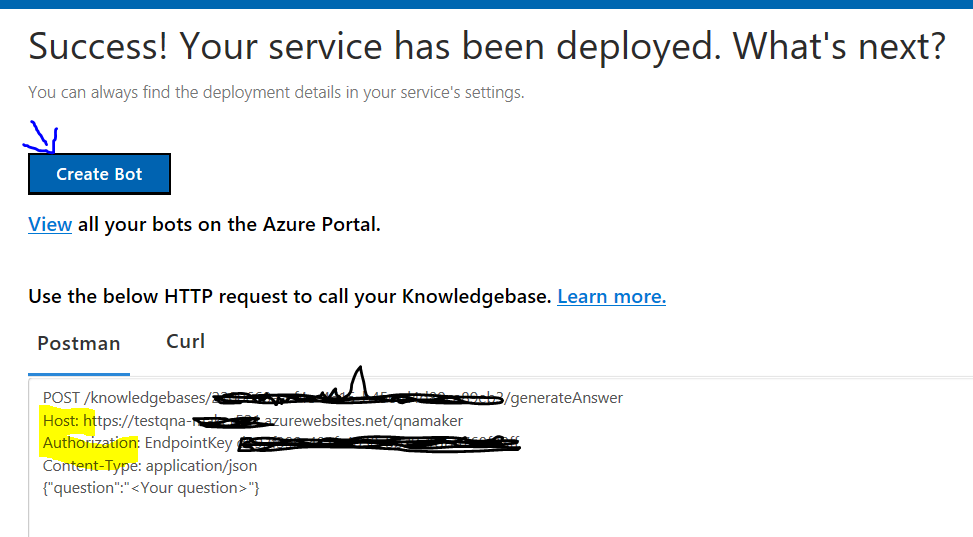
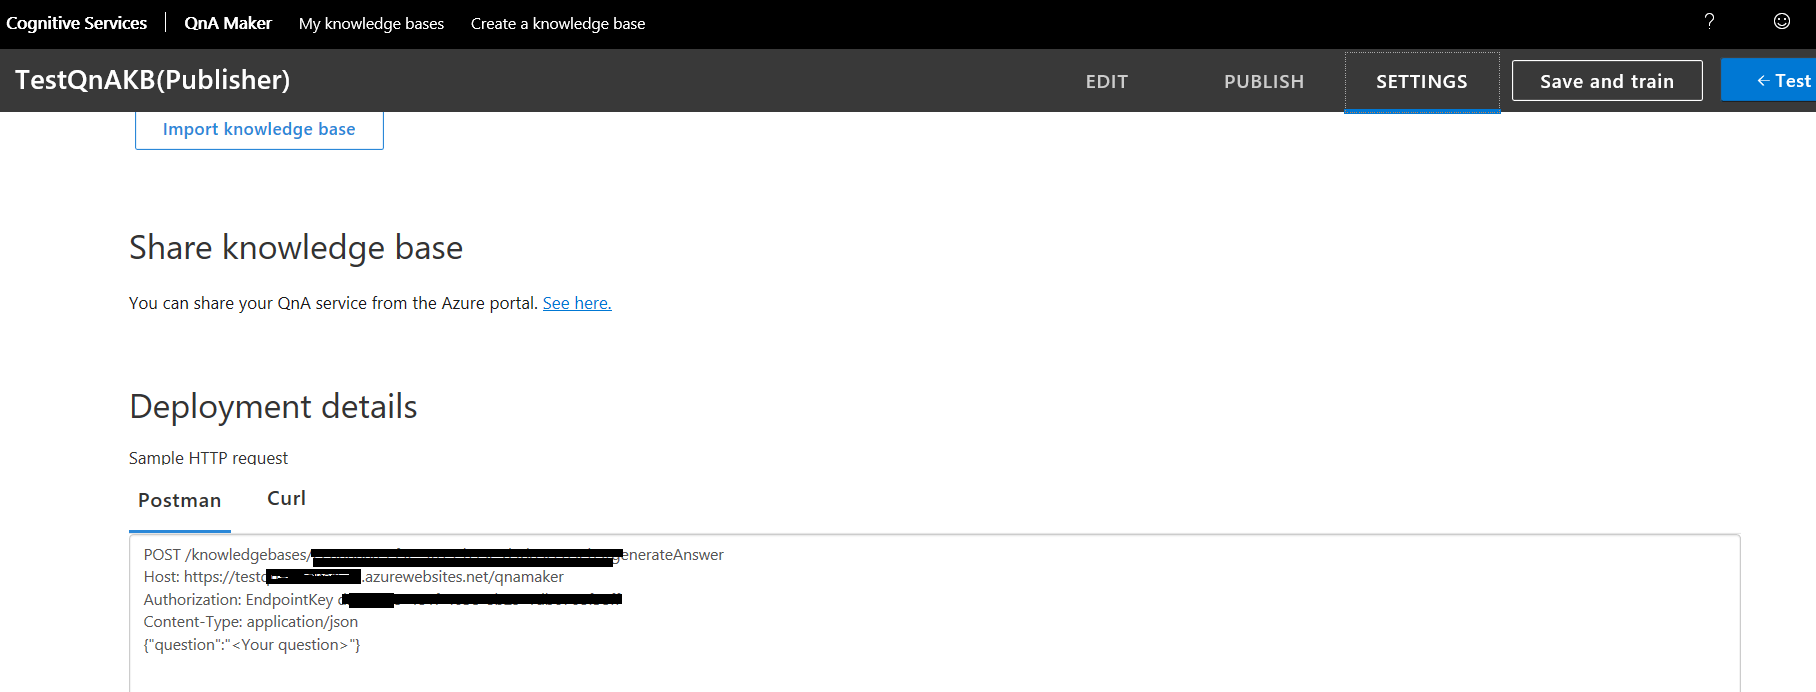
After publish is completed, you will get basic details like endpoint key and host to be used further. Now next step is to create a bot.
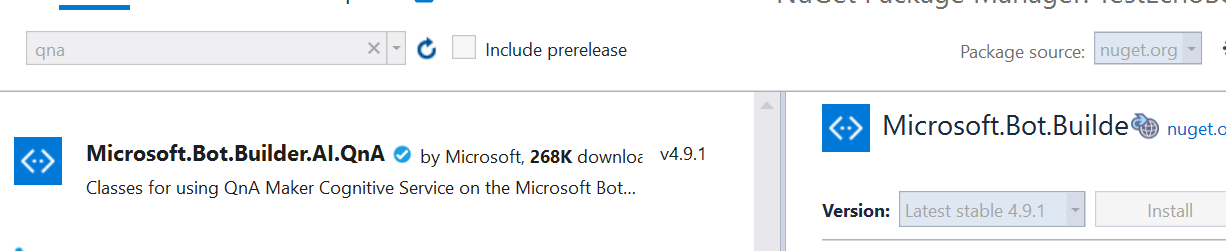
To start with, open bot application created earlier, click on project and open Nuget Package Manager. Install “Microsoft.Bot.Builder.AI.QnA” package.
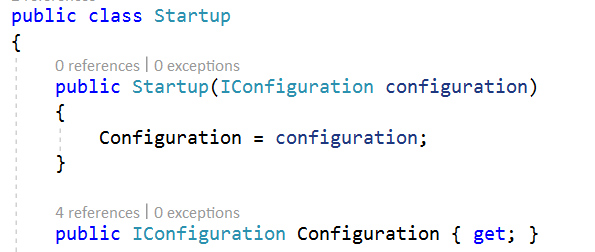
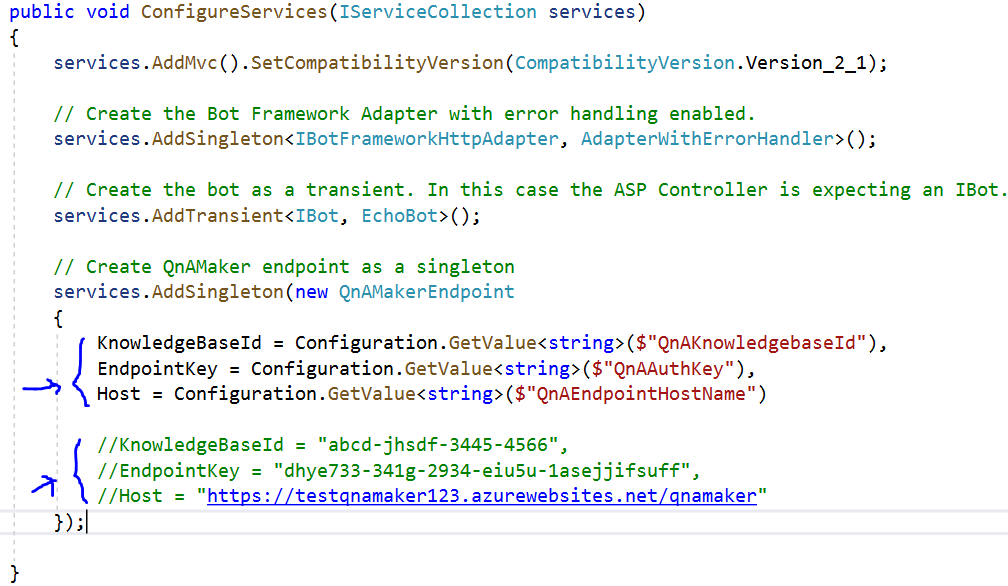
Now open Startup.cs file and add below code in “ConfigureServices” method and use this reference. In “ConfigureSErvices” method either you can directly add values like host, endpoint and knoledgeBaseID or you can copy data in “appsettings.json” file and call here via “Configuration.GetValues() method.
using Microsoft.Bot.Builder.AI.QnA;
If you are getting error while getting attributes from appsettings.json file (Configuration.GetValue<string>(""), then install Microsoft.Extensions.Configuration and Microsoft.Extensions.Configuration.Binder package as well. Now copy below code in appsettings.json file.

You can find these settings in QnAMaker portal under setting tab. Open QnAMaker.AI > Settings > Deployment
Now go to EchoBot.cs file and add below code.
Add reference: using Microsoft.Bot.Builder.AI.QnA;
Modify method “OnMessageActivityAsync” and replace with below code.

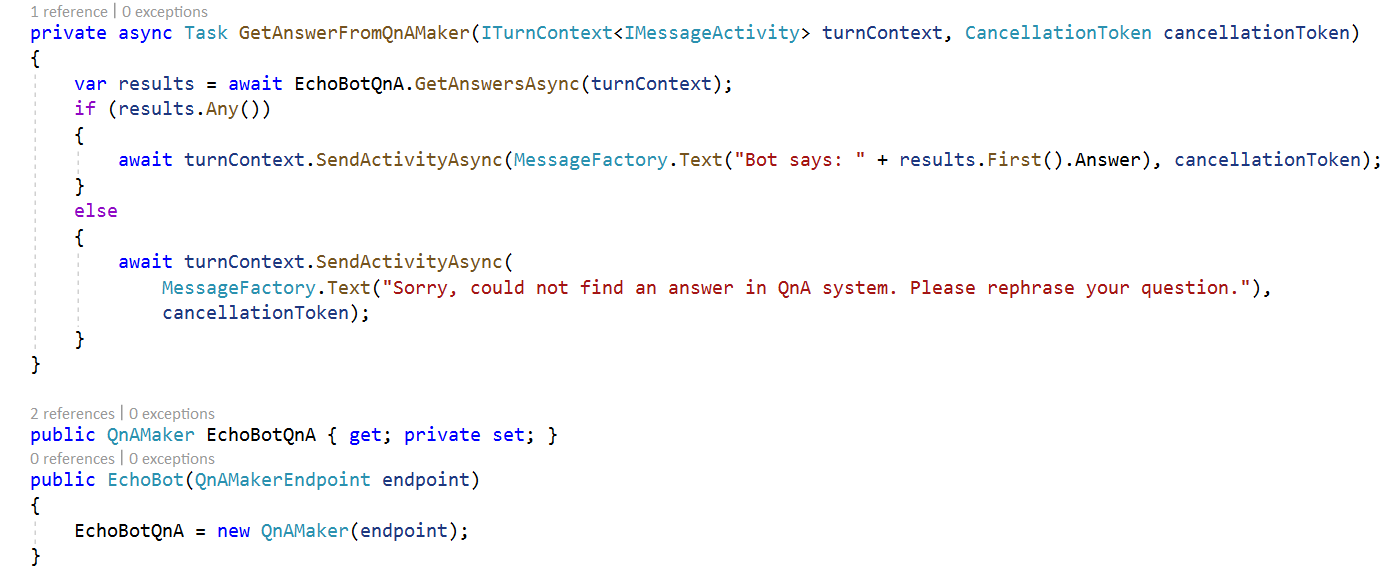
Add method “GetAnswerFromQnAMaker”. This method is used to communicate with QnAMaker service and return result based on the response from QnA maker. Then add a property “EchoBotQnA” and define constructor to set value to this property from “ConfigureServices” that is inside Startup.cs file.
Now code part is completed, so it is time to test the bot with new QnA service integrated so far. Run the application and open Emulator to test the bot. Configuration is already done, so it should find the existing one. Just click on “TestEchoBot” under My Bots section and it will open a new session for you.
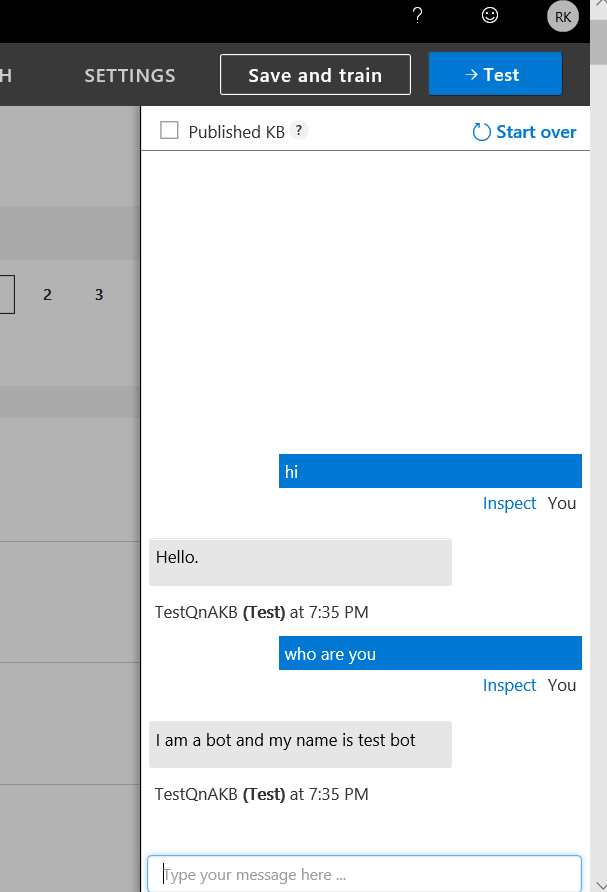
As soon as the session starts, first it will give welcome message which was defined in “OnMembersAddedAsync” method in EchoBot.cs file. Now it’s time to say “hi” to bot. If you remember we configured “Chit-Chat” dataset. This is pre-defined dataset created for the mean of basic greetings chat. So till here your QnA FAQ does not come into the picture. Bot will simply return greetings.

Now it’s time to ask something which we configured in QnA. Let’s ask question “Who are you”. QnA read the question and search in dataset we created and returns best matching answer. I have randomly asked from questions from bot and here are the answers.

I think we are done for today. In this article you learn A-Z about bot with simple example and later we learned configuring and using QnA maker into the bot.